
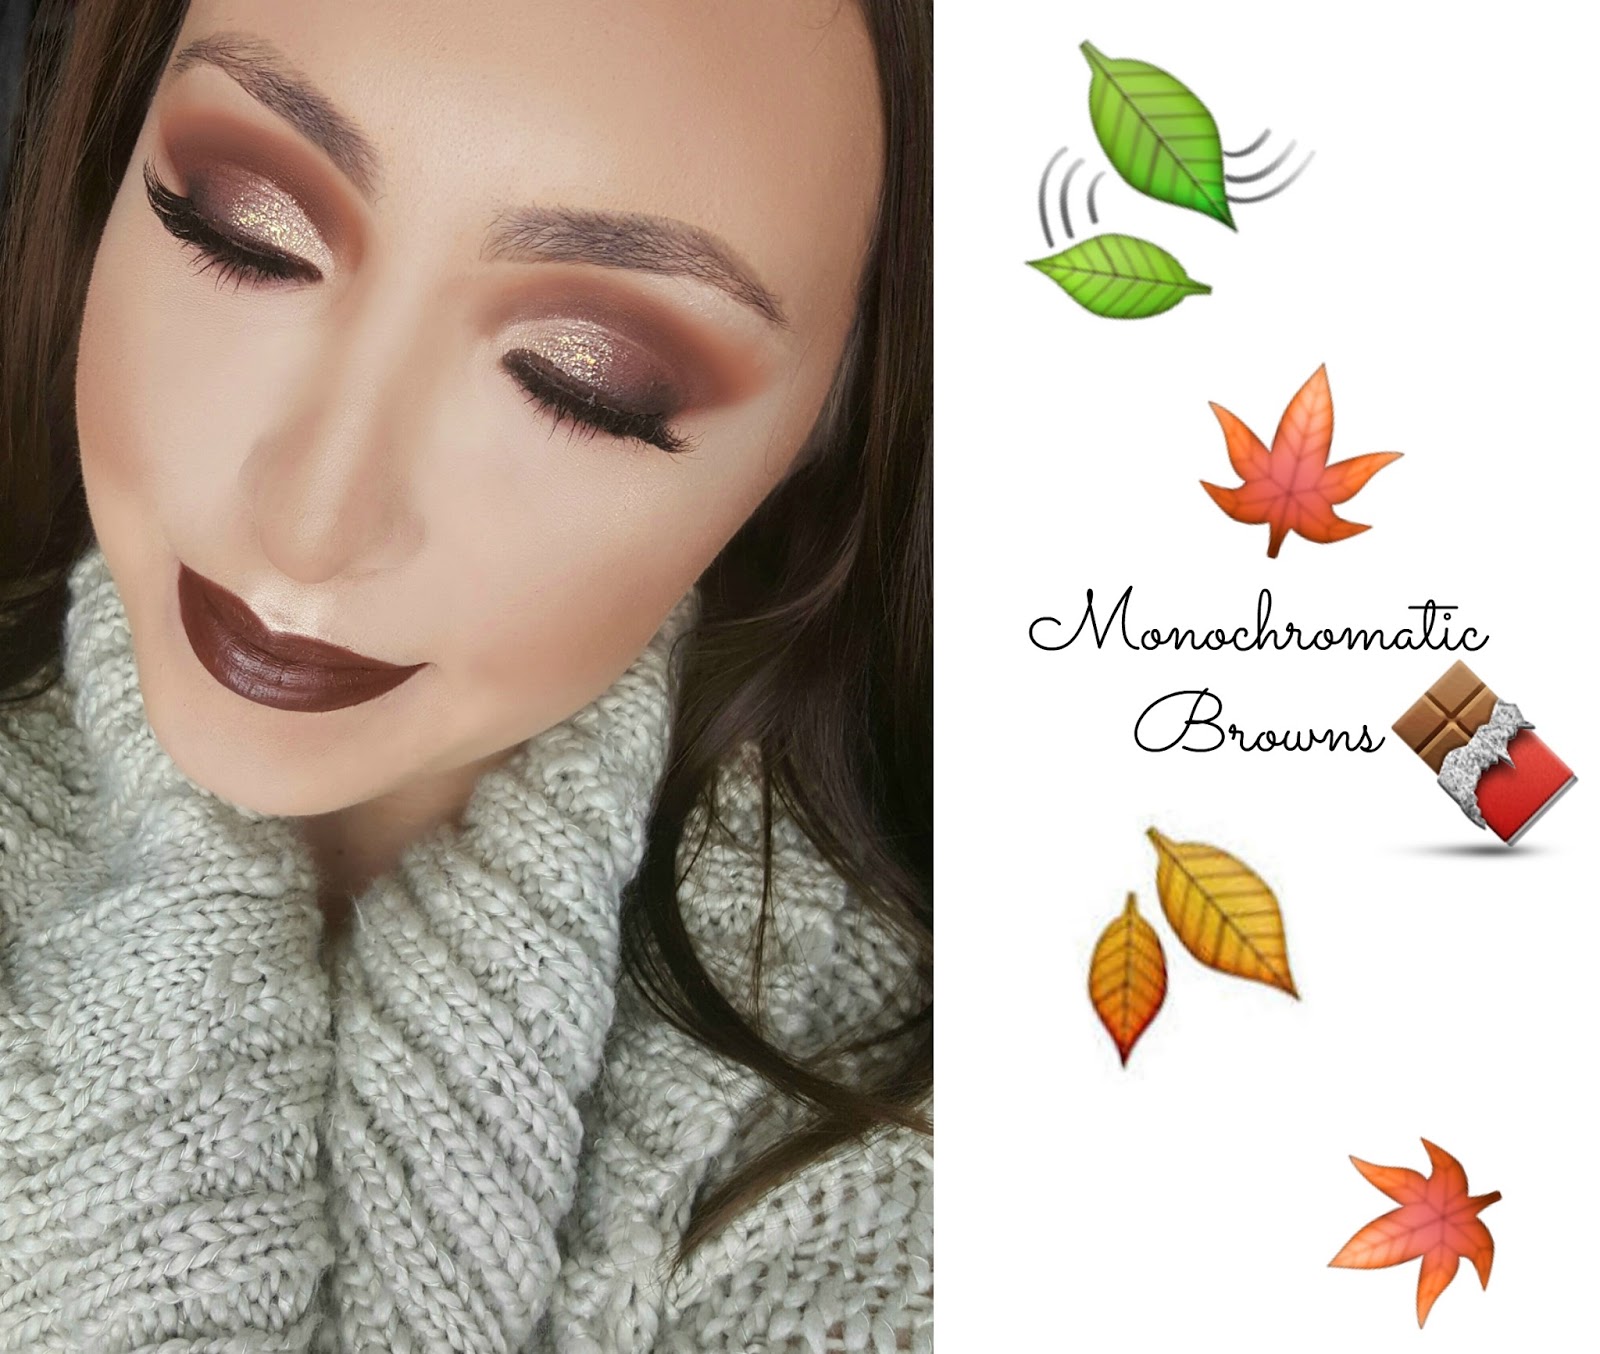
Originally I had planned to do a classic Christmas look for today's post, but there are so many of those floating around right now that I wanted to do something with a bit more of a unique spin on it. You guys seem to agree on that as well when I put it to a vote a couple weeks back. How many times can we all watch tutorials of gold eyeshadow and red lipstick? Well, after recently receiving this gorgeous chocolatey brown lipstick by Ofra Cosmetics, I wanted to do a look incorporating it. And in my typical all-or-nothing fashion, I decided to wear brown all over my face. Of course. All of that aside, this sort of vampy look really goes with this time of year and the level of drama is perfect for a more formal holiday party.
 |
| ♥ Click To Enlarge ♥ |
2♥ Next, I swept a red-orange eyeshadow from the same Morphe palette closer to my crease than the previous shade with a smaller blending brush. I took this shade all the way around the orbital socket of the eye because it is essential to the lid definition that goes on in the completed look. You also want there to be a gradual fade from one color to the next, so it is important to take a little bit of time to blend out the edges.
3♥ To further define that orbital socket, I took a warm medium brown from the Morphe Palette all the way through my crease using a stiffer, flat blending brush.
4♥ The depth of the crease just wasn't doing it for me, so I added an even deeper brown from the Morphe 35O directly to the crease using a small pencil brush. However, because it was in such dark contrast to the other colors I used, I had to blend out the edges using the smaller blending brush. This particular shade was a bit difficult and patchy, but I was able to fix that in the next step. It is a lot better to build up color than to automatically go in with a dark one as it allows for more control over your application as a whole.
5♥ In order to create that very clean, defined lid, I needed a fresh base to work with as well as a crisp line between the crease and the lid. To do this, I took my Mac Pro Longwear Paint Pot in Soft Ochre on a thin angled eyeliner brush and created a sharp line right inside my crease, blending it onto the rest of my lid. Also, because I found that the crease definition practically disappeared during this step, I took Triple Fudge (deep brown with olive undertones) from the Too Face Chocolate Bar Palette on that same angled eyeliner brush and dashed it along the cut crease to create that crisp definition I was looking for.To make that line a little less harsh, I flicked the eyeliner brush upwards from the cut crease, which helps to blend the eyeshadow.
 |
| ♥ Click To Enlarge ♥ |
6♥ Moving onto the lid, I used Semi-Sweet (taupe brown) from the Too Faced Chocolate Bar Palette all over the outer two-thirds of my lid. I did this with a flat shader brush and found that it was difficult getting it close enough to the crease without covering it. If this is the case for you, you can just go back with Triple Fudge and the angled eyeliner brush to redefine the crease again.
7♥ I wanted a smokier outer corner, so I took my pencil brush and ran Black from the Lorac Pro Palette along my lash line on the outer third of my eye. The black came off a little harsh so I blended it out a bit with my stiff, flat blending brush.
8♥ Time for the pop of light in the inner third of the eye. To start off, I needed a base eyeshadow to create the brightness. For this I used the NYX Roll On Shimmer in Nude, which I have recently rediscovered in my collection and have fallen back in love with. Definitely a must-have if you like a shimmery, yet neutral lid. Anyways, I wanted to apply this product more precisely, so instead of applying it directly with the applicator or my finger, I used a small detail brush. This helped me to get really close to the crease without overlapping it and also helped me to create a gradient between the other darker lid color.
9♥ For this look, I find that glitter takes it to a whole other level and is absolutely necessary. To apply the glitter, I used the small detail brush again and instead of applying the LA Splash Splash Proof Sealer Base directly to my lid like I normally would, I took some on my brush, dipped the brush into the glitter, and then applied the glitter to my lid. Doing this helped me to control the amount of glitter that showed up on my lids. I didn't want an opaque layer; I wanted a soft sweep of it, if that makes any sense. Also, I created a small, thin liner (no wing) using the Benefit They're Real! Push-Up Liner in Beyond Brown.
10♥ Lastly, apply your finishing touches. I decided to smoke out my lower lash line, so I applied the brown liner to my water line and then smudged it out with the deep brown from the Morphe Palette and a pencil brush. I further blended it out using an angled shader brush and the warm brown from the same palette. Also, I applied Mac Nylon Eyeshadow as my brow bone highlight and used House of Lashes "Smokey Muse" as my lashes.

♥ Foundation - Maybelline Fit Me Matte + Poreless mixed with L'Oreal Infallible Pro Matte
♥ Concealer - LA Girl Pro Conceal
♥ Brows - NYX Micro Brow Pencil in Taupe
♥ Bronzer - Urban Decay Naked Skin Ultra Definition Pressed Finishing Powder in Naked Dark
♥ Blush - Tarte Amazonian Clay Blush in Glisten
♥ Highlight - Nars Illuminator in Copacabana topped with Kat Von D Metal Crush Eyeshadow in Thunderstruck
♥ Lips - Ofra Cosmetics Long Lasting Liquid Lipstick in Brooklyn
XO♥
No comments:
Post a Comment