
I remember just a few years ago when rocking some simple Ardell or Red Cherry lashes was the thing, but now so many lash companies have emerged sporting the fanciest, fluffiest styles and, to be honest, the price tags are getting quite ridiculous. If you're anything like me, however, you go through lashes like crazy and paying those prices just isn't feasible. The best alternative I've found, then, is to create your own lashes...or customize them rather.
Here's what you'll need:
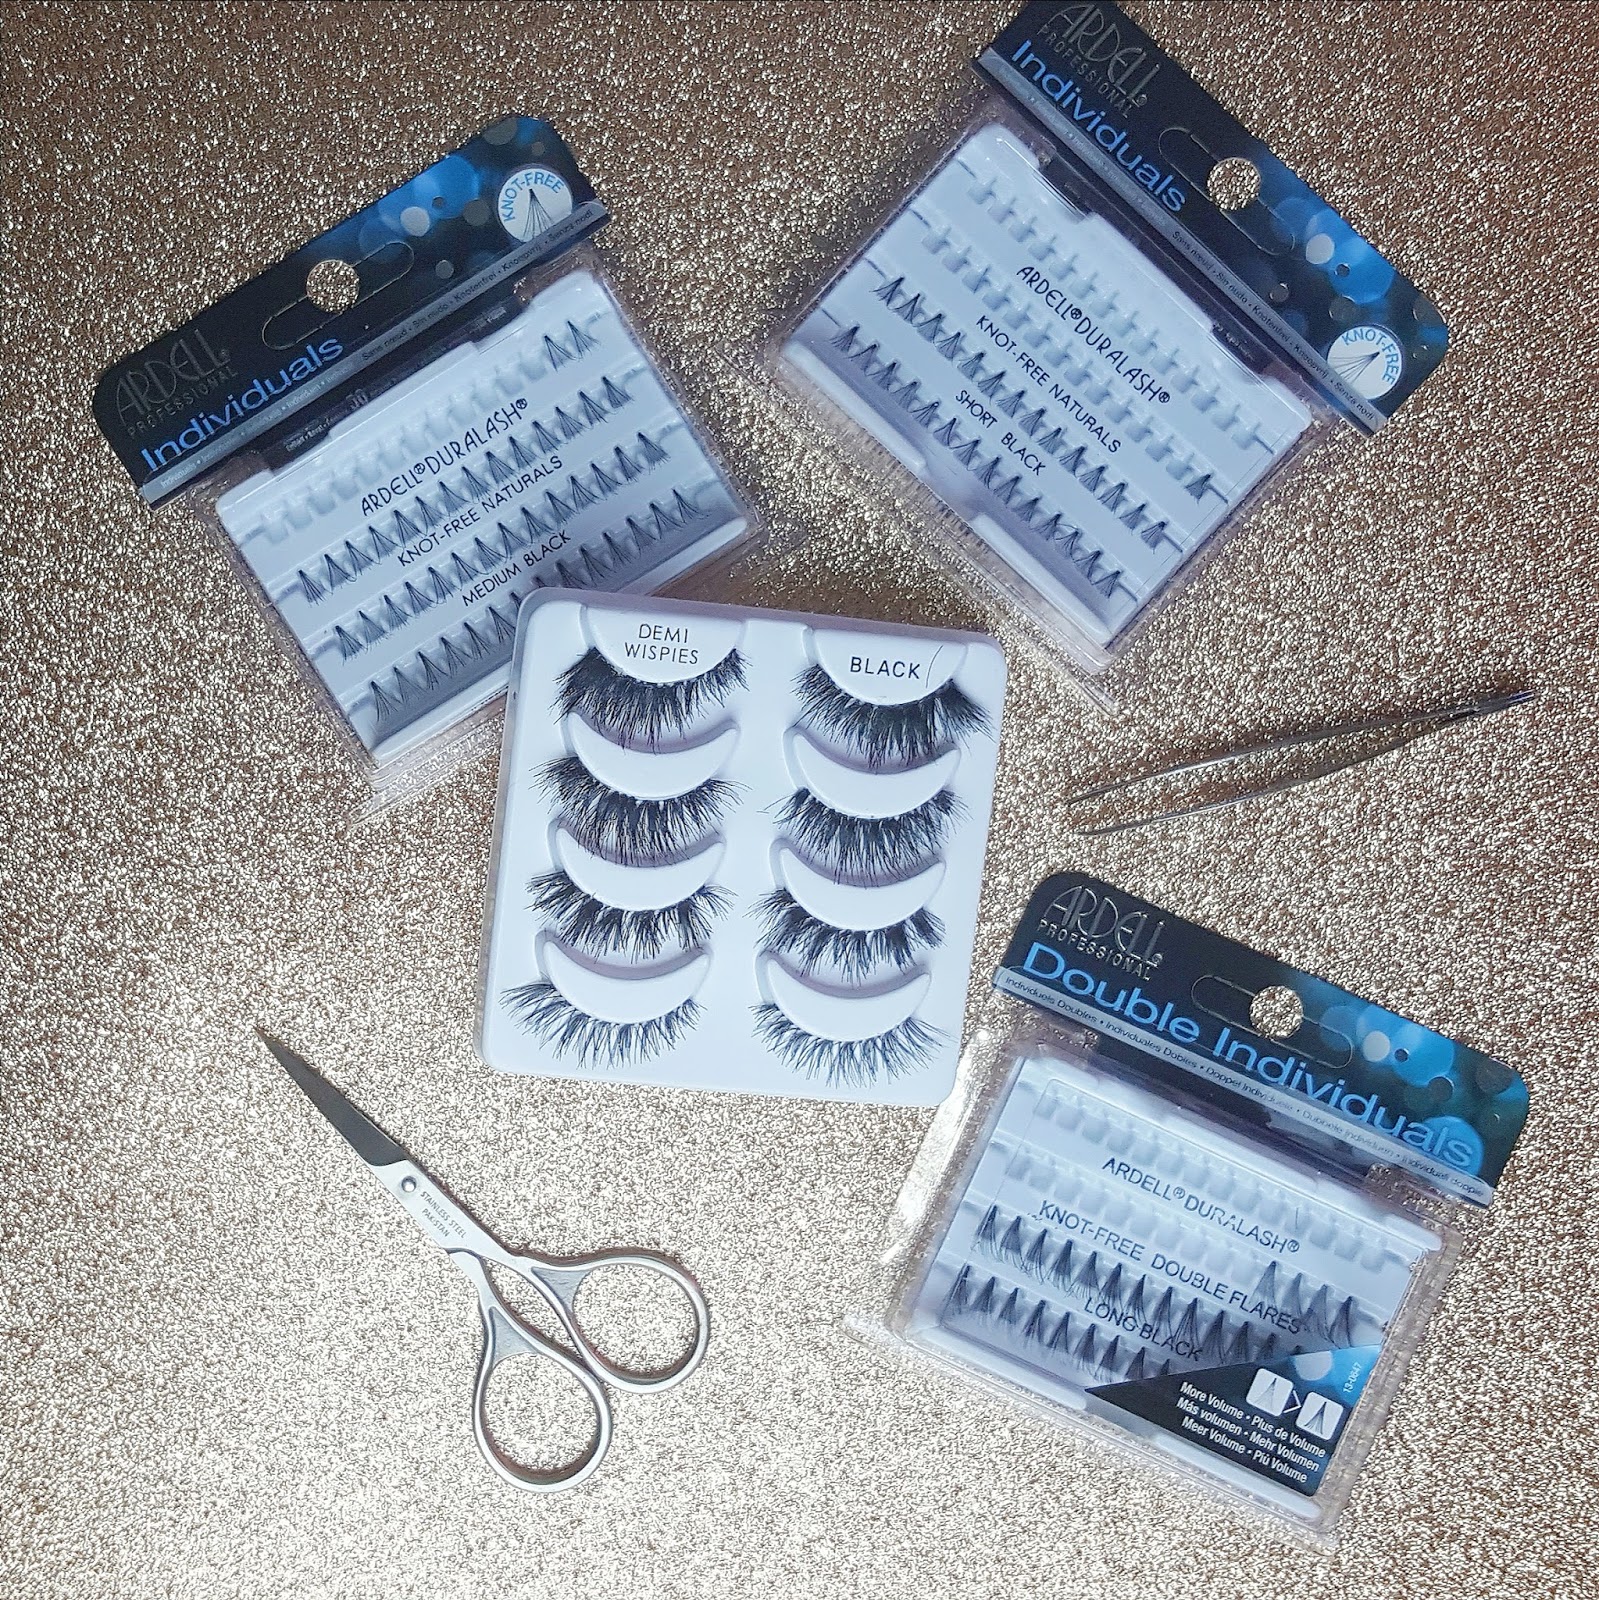
♥ An affordable pair of lashes
♥ Lash adhesive
♥ Tweezers
♥ Individual lashes (short, medium, and long)
♥ A picture of the lashes you'd like to replicate (optional)
♥ Eyebrow scissors
When picking the lashes you are going to use, it is important to pick them in a style that can easily work as your base. Don't pick a super thick voluminous pair if you're going for a more flared, wispy cat eye effect. Personally, I like the Ardell Demi Wispies because you can get the 5-pack for super cheap and it also works as a base for so many different styles. I will be demonstrating this today by creating three of my favorite styles: Cat Eye, Centered Wispy, and Spiky.
 |
| Customizing My Ardell Demi Wispies Into Different Styles Using Individual Lasbes Styles From Left To Right: Cat Eye, Centered Wispy, & Spiky |
Also, the lash adhesive that you use will be dependent on how long you want that style to last. If you know for certain that you only wear that particular style of lash, you can go ahead and use the permanent adhesive used on eyelash extensions. If not, simply use your regular favorite lash adhesive like Duo or Revlon, which I will be using today. The benefits for using a regular lash adhesive are that you have more time to move around and adjust the individual lash positions to your liking as well as recycling the individual lashes once you are bored of the style. Unfortunately, this means that your lash creation is more prone to getting messed up during wear, so just be mindful of that.
♥ When I start the lash building process, I personally like to begin by placing the long individuals down first. This acts as a guide for where I would like the other lashes to be.
♥ I suggest choosing a lash base that has slight gaps in it. These gaps tend to be perfect placeholders for the individual lashes.
♥ Using tweezers will make the experience so much easier. They allow for much better precision because you can actually see what you are doing. Also, the back of the tweezer is useful for pushing the lashes down against the band and securing them in place.
I hope my explanations were useful in this post. This is my first time utilizing the video feature of this blog, but I thought it would be easier for you guys to see exactly what I was doing. If you did like this addition, be sure to let me know so that I can include it in other tutorial type posts! :)
XO♥
No comments:
Post a Comment